In 2025, self adhesive wall paper is taking the interior design world by storm. More renters and homeowners are turning to this modern solution for its effortless style, flexibility, and the freedom to transform any room without long-term commitment.
With advances in eco-friendly materials and an explosion of artistic patterns, self adhesive wall paper is now more versatile and sustainable than ever. Whether you want a bold accent wall or a subtle update, the options are endless.
This guide will walk beginners through every step—from understanding self adhesive wall paper and choosing the right type, to installation, troubleshooting, and keeping your walls looking their best.
Understanding Self Adhesive Wall Paper
Self adhesive wall paper has become a game-changer in the world of home décor. It's designed for those who want style, flexibility, and simplicity, especially in 2025’s fast-moving rental market. Whether you’re looking for a quick room refresh or a bold statement wall, this solution offers endless options—without the mess or commitment of traditional wallpaper.
What Is Self Adhesive Wall Paper?
Self adhesive wall paper is a peel-and-stick decorating material made to cover walls and surfaces with ease. Unlike traditional wallpaper, it doesn’t need paste or water. Instead, it uses a pressure-sensitive adhesive backing that sticks directly to clean, smooth surfaces.
This innovation stands apart from wall decals by offering full-wall coverage and more durable materials. Peel-and-stick technology allows for effortless repositioning and removal, making it renter-friendly. Popular options include removable vinyl and polyester wall papers, both known for their flexibility and reliability.
Types of Self Adhesive Wall Paper
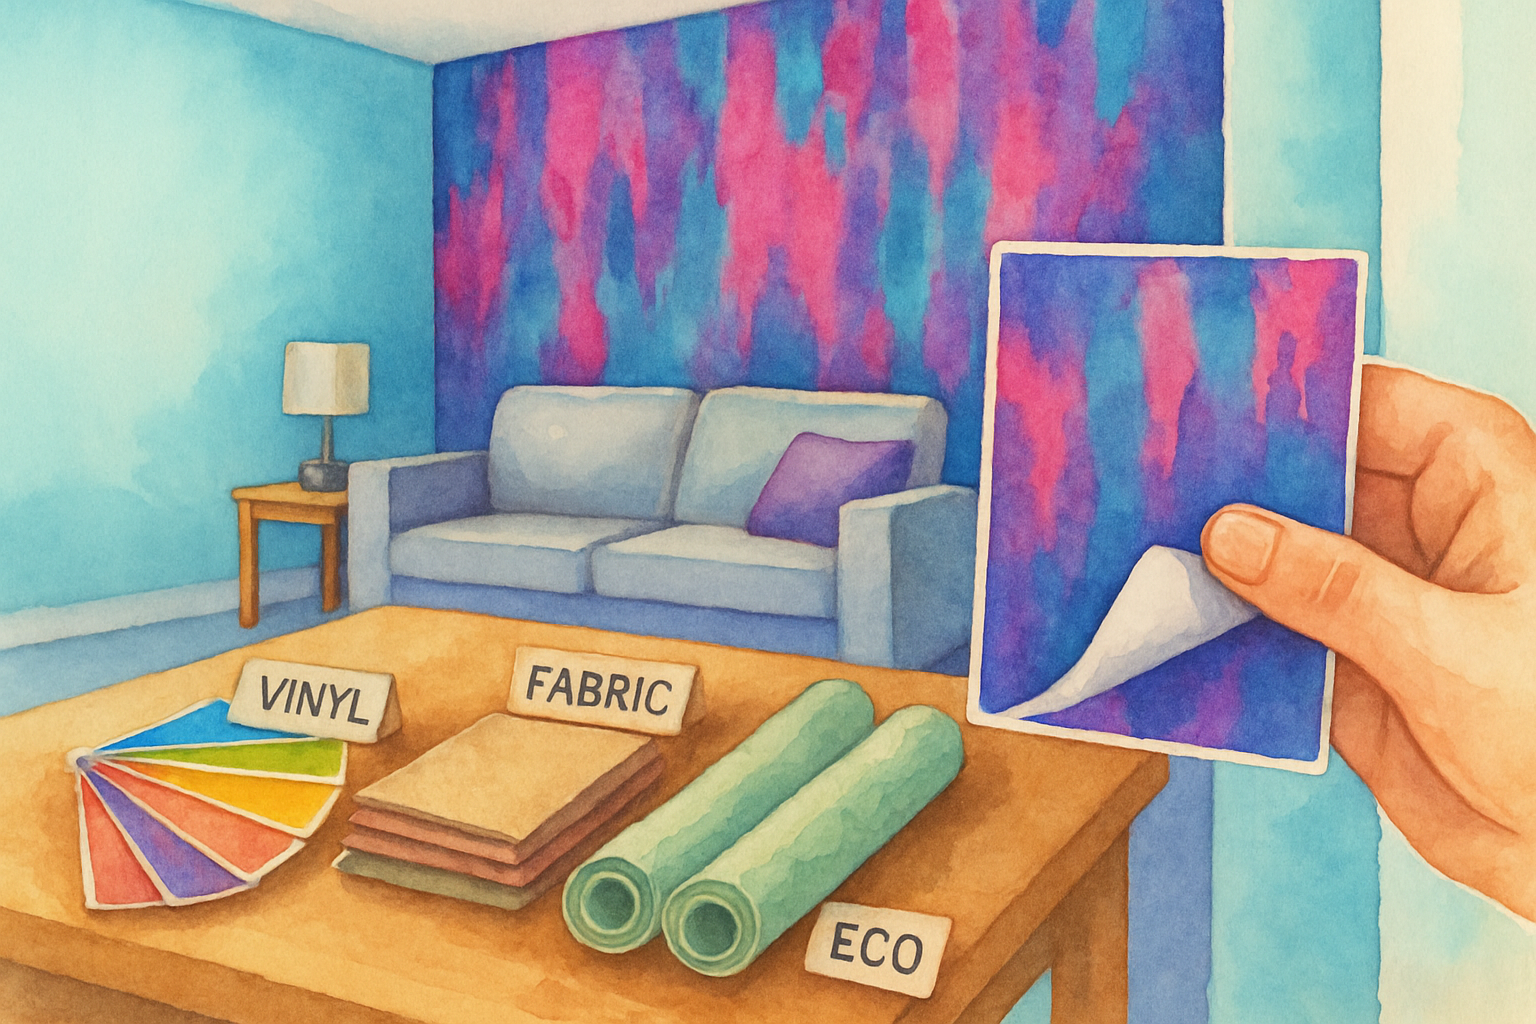
The main types of self adhesive wall paper include vinyl, polyester, fabric, and eco-friendly blends. Each material offers a unique texture and performance. Vinyl is tough and moisture-resistant, perfect for kitchens or bathrooms. Fabric styles deliver a soft, canvas-like feel, ideal for bedrooms or living rooms. Polyester provides a lightweight, easy-to-handle alternative.
Surface finishes range from matte and glossy to woven textures. Some types are specially made to resist humidity, while others are best for dry areas. For an in-depth look at these materials and their pros and cons, visit the Material Analysis of Peel-and-Stick Wallpaper.
Key Benefits for Beginners
Choosing self adhesive wall paper offers several beginner-friendly advantages:
- No glue, paste, or professional installation needed.
- Simple peel-and-stick application saves time and stress.
- Damage-free removal makes it ideal for renters.
- Safe for most painted walls and surfaces.
For example, if you want to transform an apartment without risking your security deposit, self adhesive wall paper is the perfect temporary décor solution.
Common Applications and Design Trends (2025)
In 2025, self adhesive wall paper is being used in creative ways:
- Accent walls in bedrooms, living rooms, and entryways.
- Furniture wrapping, such as updating dressers or bookshelves.
- Small-space solutions like backsplashes or closet interiors.
Popular patterns include botanical prints, marble textures, geometric shapes, and large-scale murals. Integration with smart home themes is on the rise. According to recent market reports, the removable wallpaper industry has seen significant growth in 2024, reflecting its strong demand among homeowners and renters.
Limitations and Considerations
While self adhesive wall paper is versatile, it’s not suitable for every surface. Avoid applying it to textured, rough, or damp walls, as adhesion may fail. It may not last as long as traditional wallpaper, especially in high-traffic or humid areas.
Improper removal can sometimes leave sticky residue or cause minor wall damage. For example, applying it to freshly painted walls (less than 30 days old) can lead to peeling paint when removed.
Environmental Impact and Innovations
Eco-conscious consumers will appreciate the latest advancements in self adhesive wall paper. Many brands now offer PVC-free and non-toxic options, reducing harmful emissions. Sustainable materials like recycled fibers and water-based inks are becoming standard.
Some eco-friendly brands are leading the way by producing wallpapers with minimal environmental impact, making it easier to decorate responsibly. This shift means you can enjoy a stylish space while supporting the planet.
How to Choose the Right Self Adhesive Wall Paper
Choosing the perfect self adhesive wall paper can feel like a creative adventure. With so many options in 2025, it’s important to match your style, space, and needs. Whether you’re decorating a cozy bedroom, a busy kitchen, or a trendy office, the right approach makes all the difference. Let’s break down the process step by step, so you can confidently select the best self adhesive wall paper for your next project.
Assessing Your Space and Needs
Start by evaluating the room where you plan to use self adhesive wall paper. Consider the wall size, lighting, and how the space is used. High-traffic areas like kitchens or entryways need more durable, moisture-resistant options. Bedrooms or offices, on the other hand, allow for softer textures and bold patterns.
Think about whether the wall gets direct sunlight, as this can affect color fading over time. For small spaces, lighter shades and subtle patterns can make the area feel larger. In larger rooms, you have more freedom to experiment with dramatic designs.
Material Comparison: Vinyl, Fabric, Eco-Friendly
Different materials offer unique benefits for self adhesive wall paper. Here’s a quick comparison:
| Material | Durability | Texture | Moisture Resistance | Eco-Friendly |
|---|---|---|---|---|
| Vinyl | High | Smooth/Glossy | Excellent | Moderate |
| Fabric | Moderate | Soft/Matte | Low | Good |
| Eco-Friendly | Varies | Natural | Varies | Excellent |
Vinyl is perfect for kitchens and bathrooms due to its resistance to moisture. Fabric options bring warmth to bedrooms. Eco-friendly choices, often made from recycled or PVC-free materials, are great for nurseries and sustainable homes.
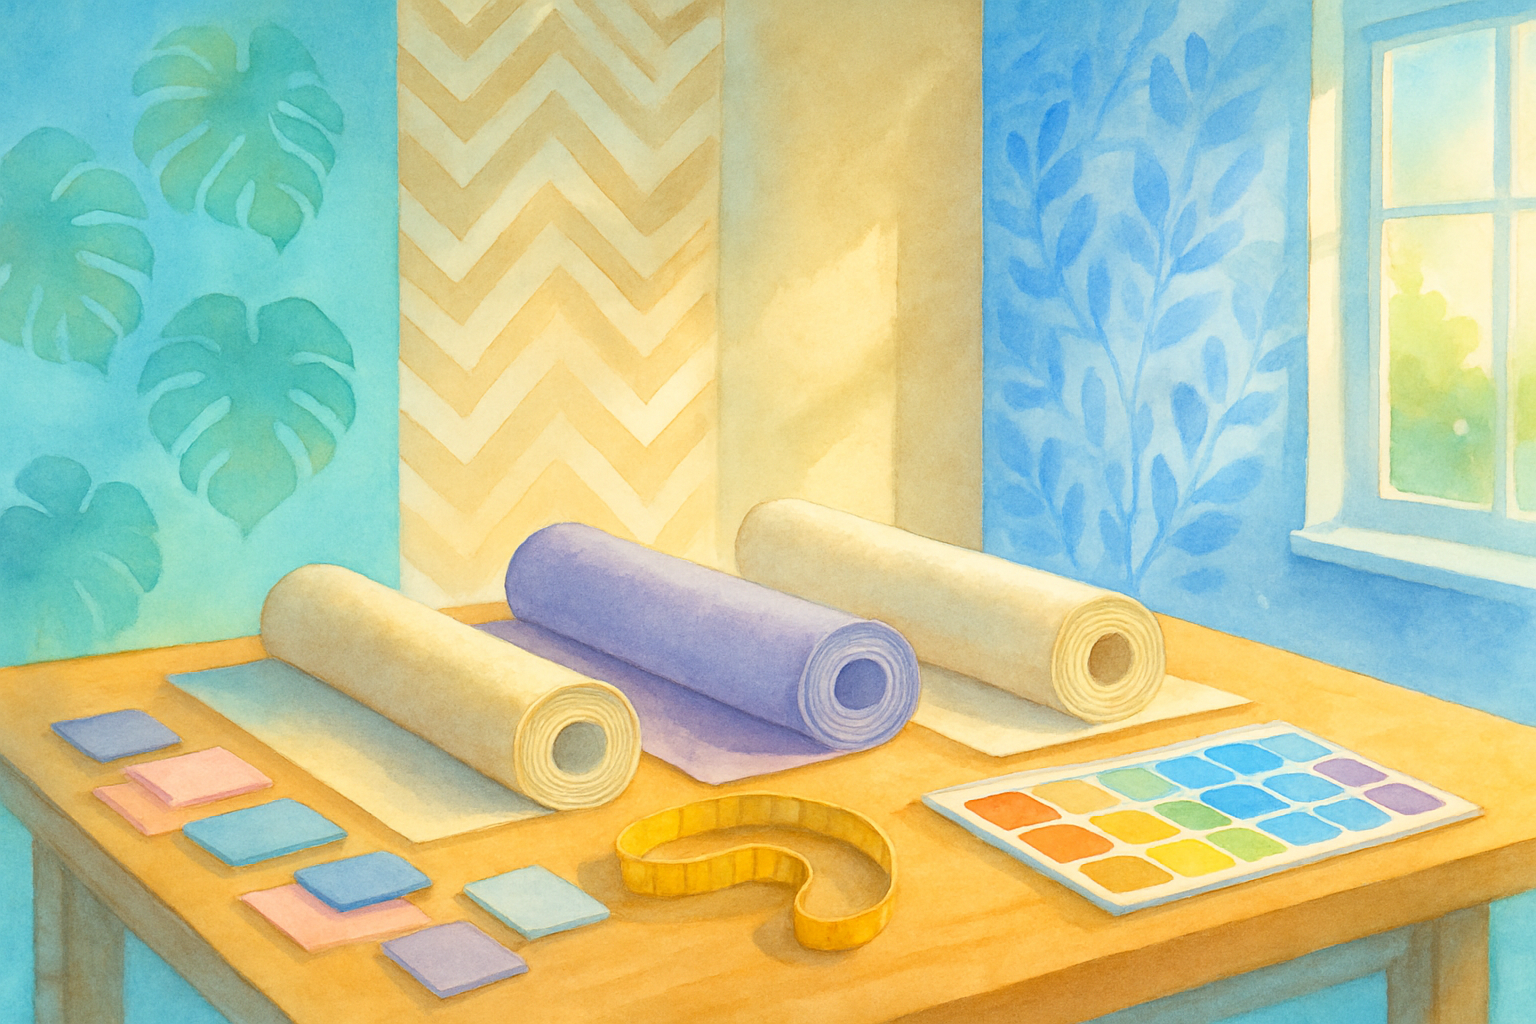
Design Selection: Patterns, Colors, and Trends
When picking self adhesive wall paper, match the pattern and color to your décor style. In 2025, geometric designs, botanical prints, and mural-style wallpapers are leading the way. Color psychology can help set the mood: blues for calm, yellows for energy, or greens for a natural feel.
Stay updated on the latest trends by checking out resources like Top Wallpaper Trends for 2024. This will inspire your selection and ensure your space feels current and stylish.
Measuring and Ordering the Correct Amount
Accurate measurement is key for a flawless self adhesive wall paper installation. Here’s how:
- Measure the height and width of each wall.
- Multiply to get the total square footage.
- Account for doors and windows by subtracting their dimensions.
- Add 10-15% extra for pattern matching and mistakes.
Many brands offer online calculators to help you order the right amount. Double-check pattern repeats, as larger motifs may require more material.
Budgeting and Cost Considerations
Budgeting for self adhesive wall paper involves more than just price per roll. Prices vary by material and brand, with vinyl generally more affordable and eco-friendly options at a premium. Factor in any tools you might need, like squeegees or utility knives.
Don’t forget possible shipping costs or installation fees if you hire help. In 2025, the average cost per square foot ranges from $1.50 for basic vinyl up to $6 for designer or eco-friendly varieties.
Where to Buy: Online vs. In-Store
You can find self adhesive wall paper both online and in stores. Online shopping offers convenience, a broader selection, and customer reviews. Many sites provide samples to test at home before committing.
In-store shopping lets you feel materials and see colors in person, reducing surprises. Consider return policies and shipping times, as these can affect your project timeline. According to a 2024 survey, most buyers still prefer online for the variety, but in-store remains popular for quick, smaller projects.
Essential Tools and Preparation Steps
Before you start transforming your space with self adhesive wall paper, having the right tools and prepping your area are crucial for a flawless finish. Proper preparation ensures the wallpaper adheres smoothly and lasts as long as possible. Let’s walk through the essentials so you’re set up for success.
Tools and Supplies Checklist
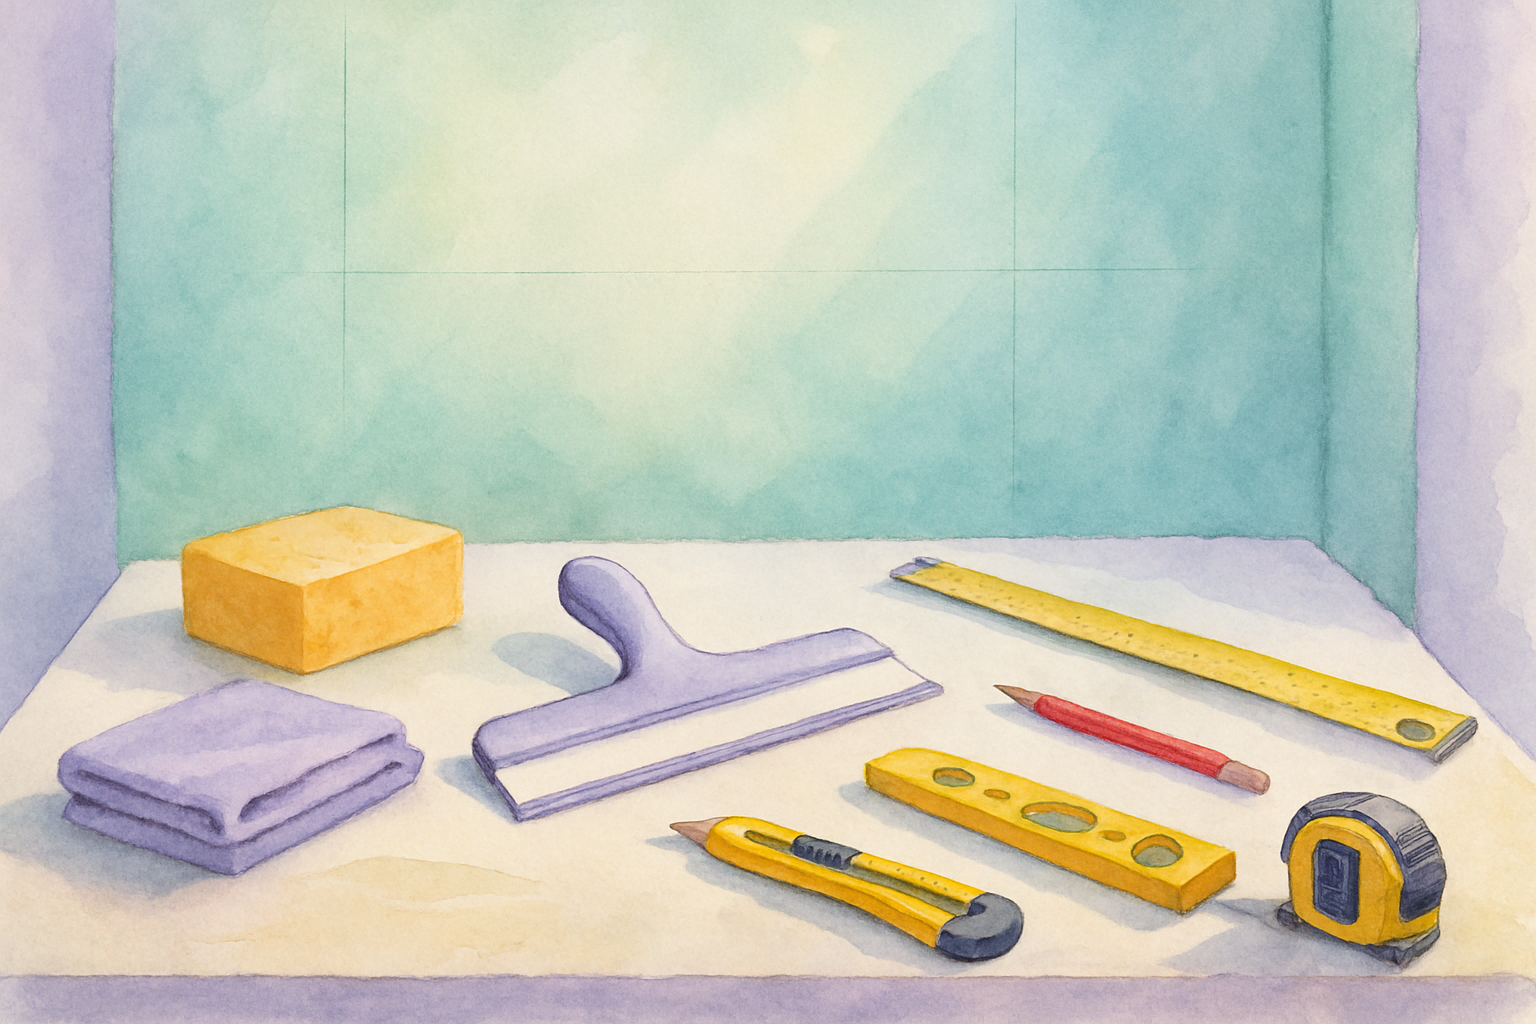
Gathering your toolkit before starting with self adhesive wall paper makes the process smoother and less stressful. Here’s what you’ll need:
- Squeegee or smoothing tool
- Utility knife with fresh blades
- Measuring tape and level
- Pencil for marking guidelines
- Mild soap, sponge, and microfiber cloth for cleaning
A complete beginner’s toolkit ensures you’re ready for each step, from measuring to trimming. Investing in quality tools also helps prevent mistakes and creates a more professional look.
Preparing Your Walls for Installation
Clean, dry walls are essential for successful self adhesive wall paper application. Start by wiping down surfaces with mild soap and water, then dry thoroughly with a microfiber cloth.
Check for cracks, holes, or uneven patches, and repair as needed. If your walls were recently painted, wait at least 30 days before installing wallpaper to ensure proper adhesion. This patience pays off with a smoother, longer-lasting finish.
Surface Suitability: What Works and What Doesn’t
Not every surface is ideal for self adhesive wall paper. The best results come from smooth, clean, and dry walls like painted drywall, smooth plaster, glass, and some tiles. Avoid rough, uneven, or damp surfaces, as these can prevent the wallpaper from sticking properly.
Want to be sure? Test adhesion with a sample strip before covering a large area. For a detailed guide on prepping tricky surfaces, especially textured walls, check out Preparing Textured Walls for Wallpaper.
How to Cut and Plan Your Panels
Accurate planning and cutting are key to a seamless look. Use a level and pencil to draw guidelines on your wall, ensuring straight application of each panel. Measure carefully around outlets, windows, and corners, and cut panels to fit.
When working with self adhesive wall paper, always leave a little extra at the top and bottom for trimming. This helps you achieve crisp, clean edges and prevents gaps.
Safety and Workspace Setup
Set up your workspace for comfort and safety. Open windows or ensure good ventilation, especially if cleaning products are in use. Move furniture away from the walls and cover floors to protect them from debris or adhesive.
Handle utility knives carefully, always cutting away from your body. Keeping your area tidy and tools within reach streamlines the process and reduces the risk of accidents.
Step-by-Step Guide: Installing Self Adhesive Wall Paper
Transforming your space with self adhesive wall paper is easier than you might think. Whether you’re tackling an accent wall or refreshing a nook, following a clear, step-by-step guide ensures a smooth process and a stunning result.
Step 1: Preparing the Wall and Workspace
Start by clearing the space around your project area. Move furniture away from the wall, and place a drop cloth to protect your floors.
Wipe down the wall with a mild soap solution and a soft sponge to remove dust, grease, or residues. Let the wall dry completely before you continue. This step is essential for ensuring the self adhesive wall paper sticks evenly and lasts.
Gather all necessary tools—measuring tape, level, squeegee, utility knife, and pencil—so everything is within reach. If you’re working in a small apartment, prepping your wall and organizing your supplies ahead of time will save you hassle later.
Step 2: Measuring and Marking Guidelines
To achieve a professional finish, accurate measurements are key. Use a measuring tape to determine the height and width of your wall. Mark your starting point, which is often the center or a main corner, depending on your design.
With a level and pencil, draw vertical or horizontal guidelines on the wall. These lines will serve as your roadmap, helping you keep the self adhesive wall paper straight and patterns aligned.
For patterned designs, ensure your guidelines account for repeat patterns. Taking the extra time to measure and mark will help avoid misalignment and wasted material.
Step 3: Cutting and Fitting the First Panel
Lay your roll of self adhesive wall paper flat and measure out the length needed for your first panel. Add a couple of extra inches at the top and bottom to allow for trimming against the ceiling and baseboard.
Cut the panel using a sharp utility knife or scissors. If your ceiling isn’t perfectly level, adjust the top edge of your panel so it aligns with your guideline, not the ceiling itself.
Fit the cut panel against the wall without peeling the backing yet. This dry-fit step lets you confirm your measurements and make any final adjustments before you commit.
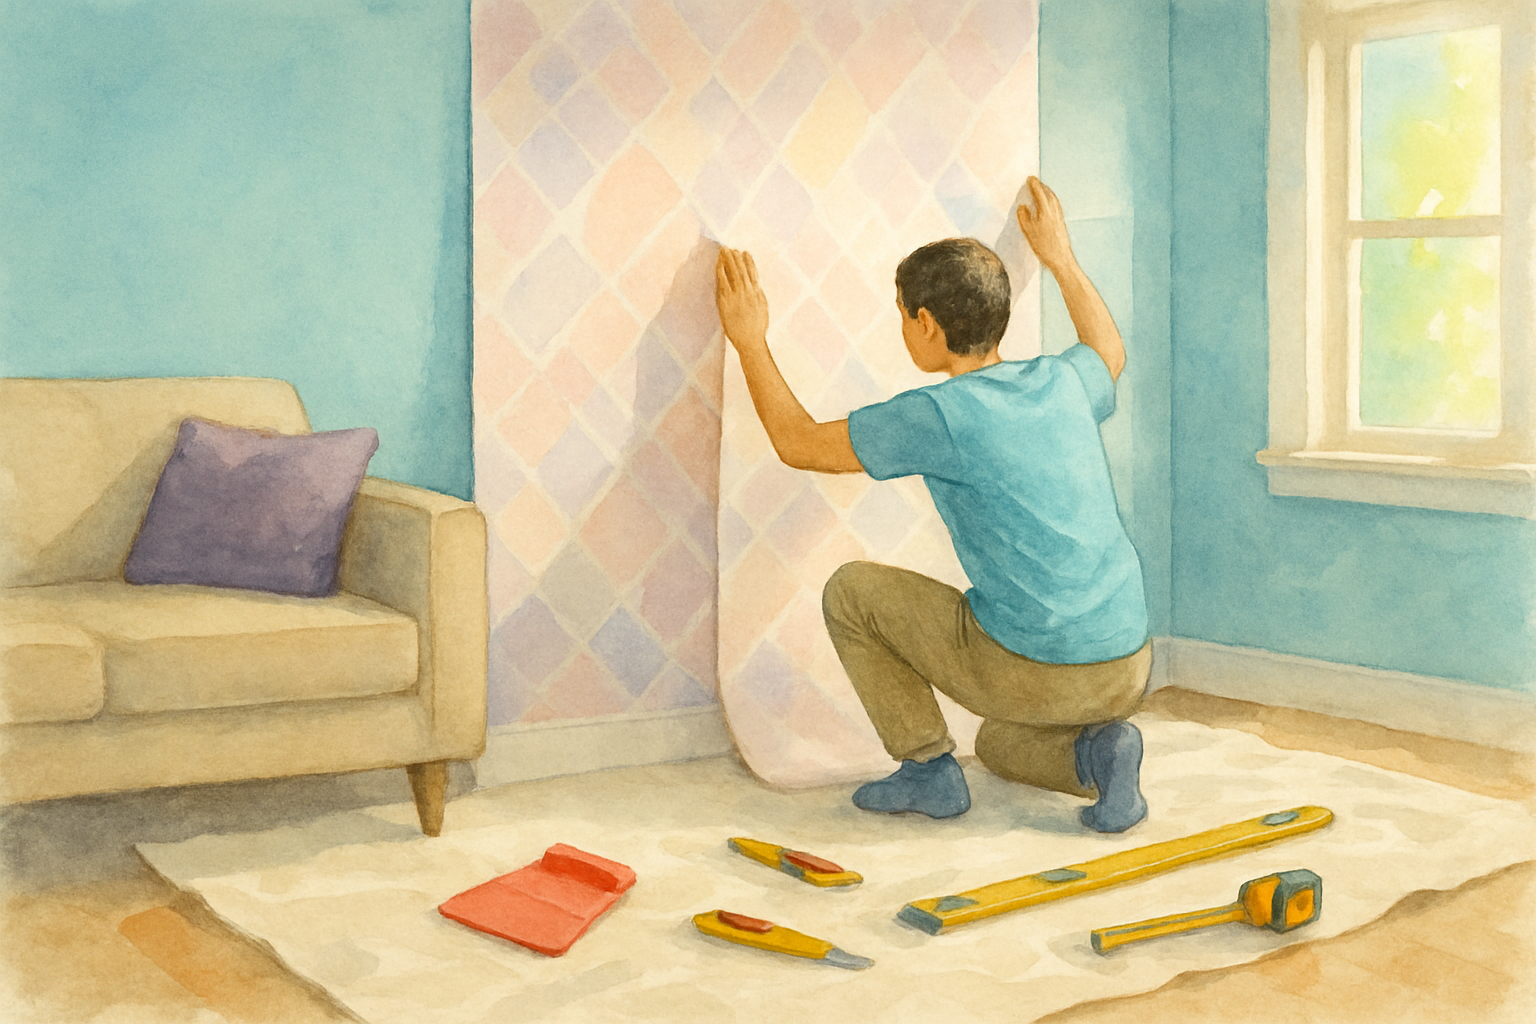
Step 4: Peeling and Sticking the Wallpaper
Peel back a small section (about 12 inches) of the backing from the top of your panel. Line up the sticky edge with your guideline, pressing it gently onto the wall. Gradually peel away more backing as you smooth the self adhesive wall paper downward, working from the center outward to push out any air bubbles.
Use a squeegee or soft cloth to press the wallpaper firmly against the wall, ensuring full contact. For large mural panels, it’s helpful to have a second person assist with alignment and smoothing.
For more detailed step-by-step visuals and pro tips, check out the How to Install Your Wallpaper guide.
Step 5: Aligning Patterns and Seams
If your self adhesive wall paper features a repeating pattern, take extra care to match the design as you apply each panel. Gently butt the edges of adjacent panels together or, if the manufacturer suggests, slightly overlap them for a seamless look.
Check pattern alignment at eye level before pressing the full panel into place. For complex geometric patterns, step back to ensure everything lines up visually.
Continue panel by panel, using your guidelines and a level to keep everything straight.
Step 6: Trimming Excess and Finishing Touches
Once all panels are applied, use a sharp utility knife and a straight edge to trim away any excess wallpaper at the ceiling, baseboard, and corners. Take your time to ensure clean, crisp edges.
Reinstall outlet covers, switch plates, and any fixtures you removed earlier. Gently press all seams and edges to ensure a strong bond with the wall.
Step back to admire your work—your space has been transformed with self adhesive wall paper.
Step 7: Troubleshooting Common Installation Issues
During installation, you might encounter air bubbles, wrinkles, or a panel that doesn’t align perfectly. For small bubbles, prick the area with a pin and smooth it flat with your squeegee.
If you misplace a panel, gently peel it back and reposition it before pressing firmly again. For a torn or creased section, cut a patch from leftover wallpaper and carefully overlap the damaged area.
Troubleshooting as you go helps maintain the fresh, flawless look of your self adhesive wall paper.
Care, Maintenance, and Removal Tips
Keeping your self adhesive wall paper looking fresh and vibrant is easier than you might think. With a few simple routines, you can extend the life of your décor and ensure your walls stay damage-free. Let’s break down the essentials for cleaning, repair, safe removal, eco-friendly disposal, and knowing when it’s time for an upgrade.
Cleaning and Maintaining Your Wall Paper
Routine care for self adhesive wall paper is simple. Use a soft, damp microfiber cloth to wipe away dust and light marks. For tougher spots, try a mild soap solution, but avoid soaking the material or using abrasive cleaners.
Vinyl wallpapers are especially easy to spot-clean, making them ideal for kitchens and entryways. Fabric-based options may need gentler handling—dab stains instead of scrubbing. Always test any cleaning solution on a hidden corner first to ensure it won’t damage the print or finish.
Preventing and Fixing Damage
Protecting self adhesive wall paper from scratches and peeling starts with mindful placement. Keep furniture and sharp objects away from the surface, and avoid excessive moisture. In high-traffic or playful spaces, consider applying a clear, removable film over vulnerable areas for extra defense.
If you notice small edges lifting or minor tears, gently press the area back into place or patch with a matching scrap. For more troubleshooting tips and common repair solutions, check out the Frequently Asked Questions About Wallpaper for expert advice tailored to self adhesive wall paper.
How to Safely Remove Self Adhesive Wall Paper
When it’s time to refresh your space, removing self adhesive wall paper is straightforward. Begin at a corner and slowly peel back, keeping the panel close to the wall. If you encounter resistance, warm the adhesive with a hair dryer on low—this loosens the bond without harming the paint underneath.
Take care to peel gently to avoid tearing. If any sticky residue remains, a bit of soapy water or adhesive remover will usually do the trick. Pat the wall dry and inspect for any paint touch-ups needed before your next project.
Reusing or Recycling Old Wallpaper
Some self adhesive wall paper can be reapplied if removed carefully and kept dust-free. This works best with thicker vinyl or polyester types. If reapplication isn’t possible, consider eco-friendly disposal: check if your local recycling program accepts vinyl or paper-based wallpaper.
Get creative with leftover panels—line drawers, cover notebooks, or create custom art. Upcycling is a fun way to reduce waste and keep your favorite patterns around in new forms.
When to Replace or Upgrade
Even the best self adhesive wall paper shows signs of age over time. Watch for fading, peeling, or patterns that just don’t inspire you anymore. Seasonal changes or life events are great opportunities to refresh your look.
If your décor style evolves, swapping in a new design can completely transform your room. With so many choices available, upgrading your self adhesive wall paper is an easy, affordable way to keep your space feeling fresh and personal.
Troubleshooting and Frequently Asked Questions
When working with self adhesive wall paper, even beginners can achieve great results—but a few common issues may arise. Here’s how to handle them with confidence and keep your project on track.
Common Installation Problems and Solutions
Facing bubbles, wrinkles, or pattern mismatches with self adhesive wall paper? Don’t panic—most issues are easily fixable.
- For bubbles: Use a pin to gently pop the bubble, then smooth it out with a squeegee.
- Wrinkles: Lift the panel carefully, stretch it slightly, and reapply.
- Poor adhesion: Clean surfaces again and ensure they're dry.
- Pattern mismatch: Double-check alignment before sticking each new panel.
If you tear a section, you can often patch it by trimming and overlapping a new piece. Most mistakes are reversible if you catch them early.
Compatibility with Different Wall Types
Self adhesive wall paper works best on smooth, clean surfaces. Here’s a quick compatibility table:
| Surface Type | Compatibility | Notes |
|---|---|---|
| Painted drywall | Excellent | Wait 30 days after painting |
| Smooth plaster | Good | Ensure no dust |
| Glass/tile | Good | Clean thoroughly |
| Textured walls | Poor | Adhesion issues likely |
| Damp/uneven surfaces | Not recommended | May peel or not stick |
Always test a sample strip before starting the full installation.
Dealing with Humidity and Temperature Changes
Humidity and temperature shifts can affect self adhesive wall paper’s performance. In bathrooms or kitchens, choose moisture-resistant options and follow manufacturer guidelines. High humidity can weaken adhesion, so install in dry conditions and avoid applying wallpaper in steamy environments.
Manufacturers recommend keeping rooms at moderate temperatures during installation and for 48 hours after. This helps the adhesive cure properly and prevents peeling or bubbling down the road.
Self Adhesive Wall Paper for Renters: What to Know
Renters love self adhesive wall paper for its easy removal and style possibilities. Always check your lease and talk to your landlord about using temporary wallpaper. Look for brands that advertise damage-free removal. When it’s time to move, peel the panels off slowly to avoid residue.
Case studies show renters in 2025 are transforming apartments with bold patterns and accent walls, then restoring spaces to their original state without hassle.
Innovations and Trends to Watch (2025)
The world of self adhesive wall paper is evolving fast. Look for smart wallpapers that change color or pattern, interactive surfaces, and greener materials. Eco-friendly options are booming, with many brands focusing on non-toxic adhesives and water-based inks.
For more on these advancements, read about Eco-Friendly Innovations in Peel-and-Stick Wallpaper, which explores the latest trends shaping the market in 2025.
Leave a comment
This site is protected by hCaptcha and the hCaptcha Privacy Policy and Terms of Service apply.